Description
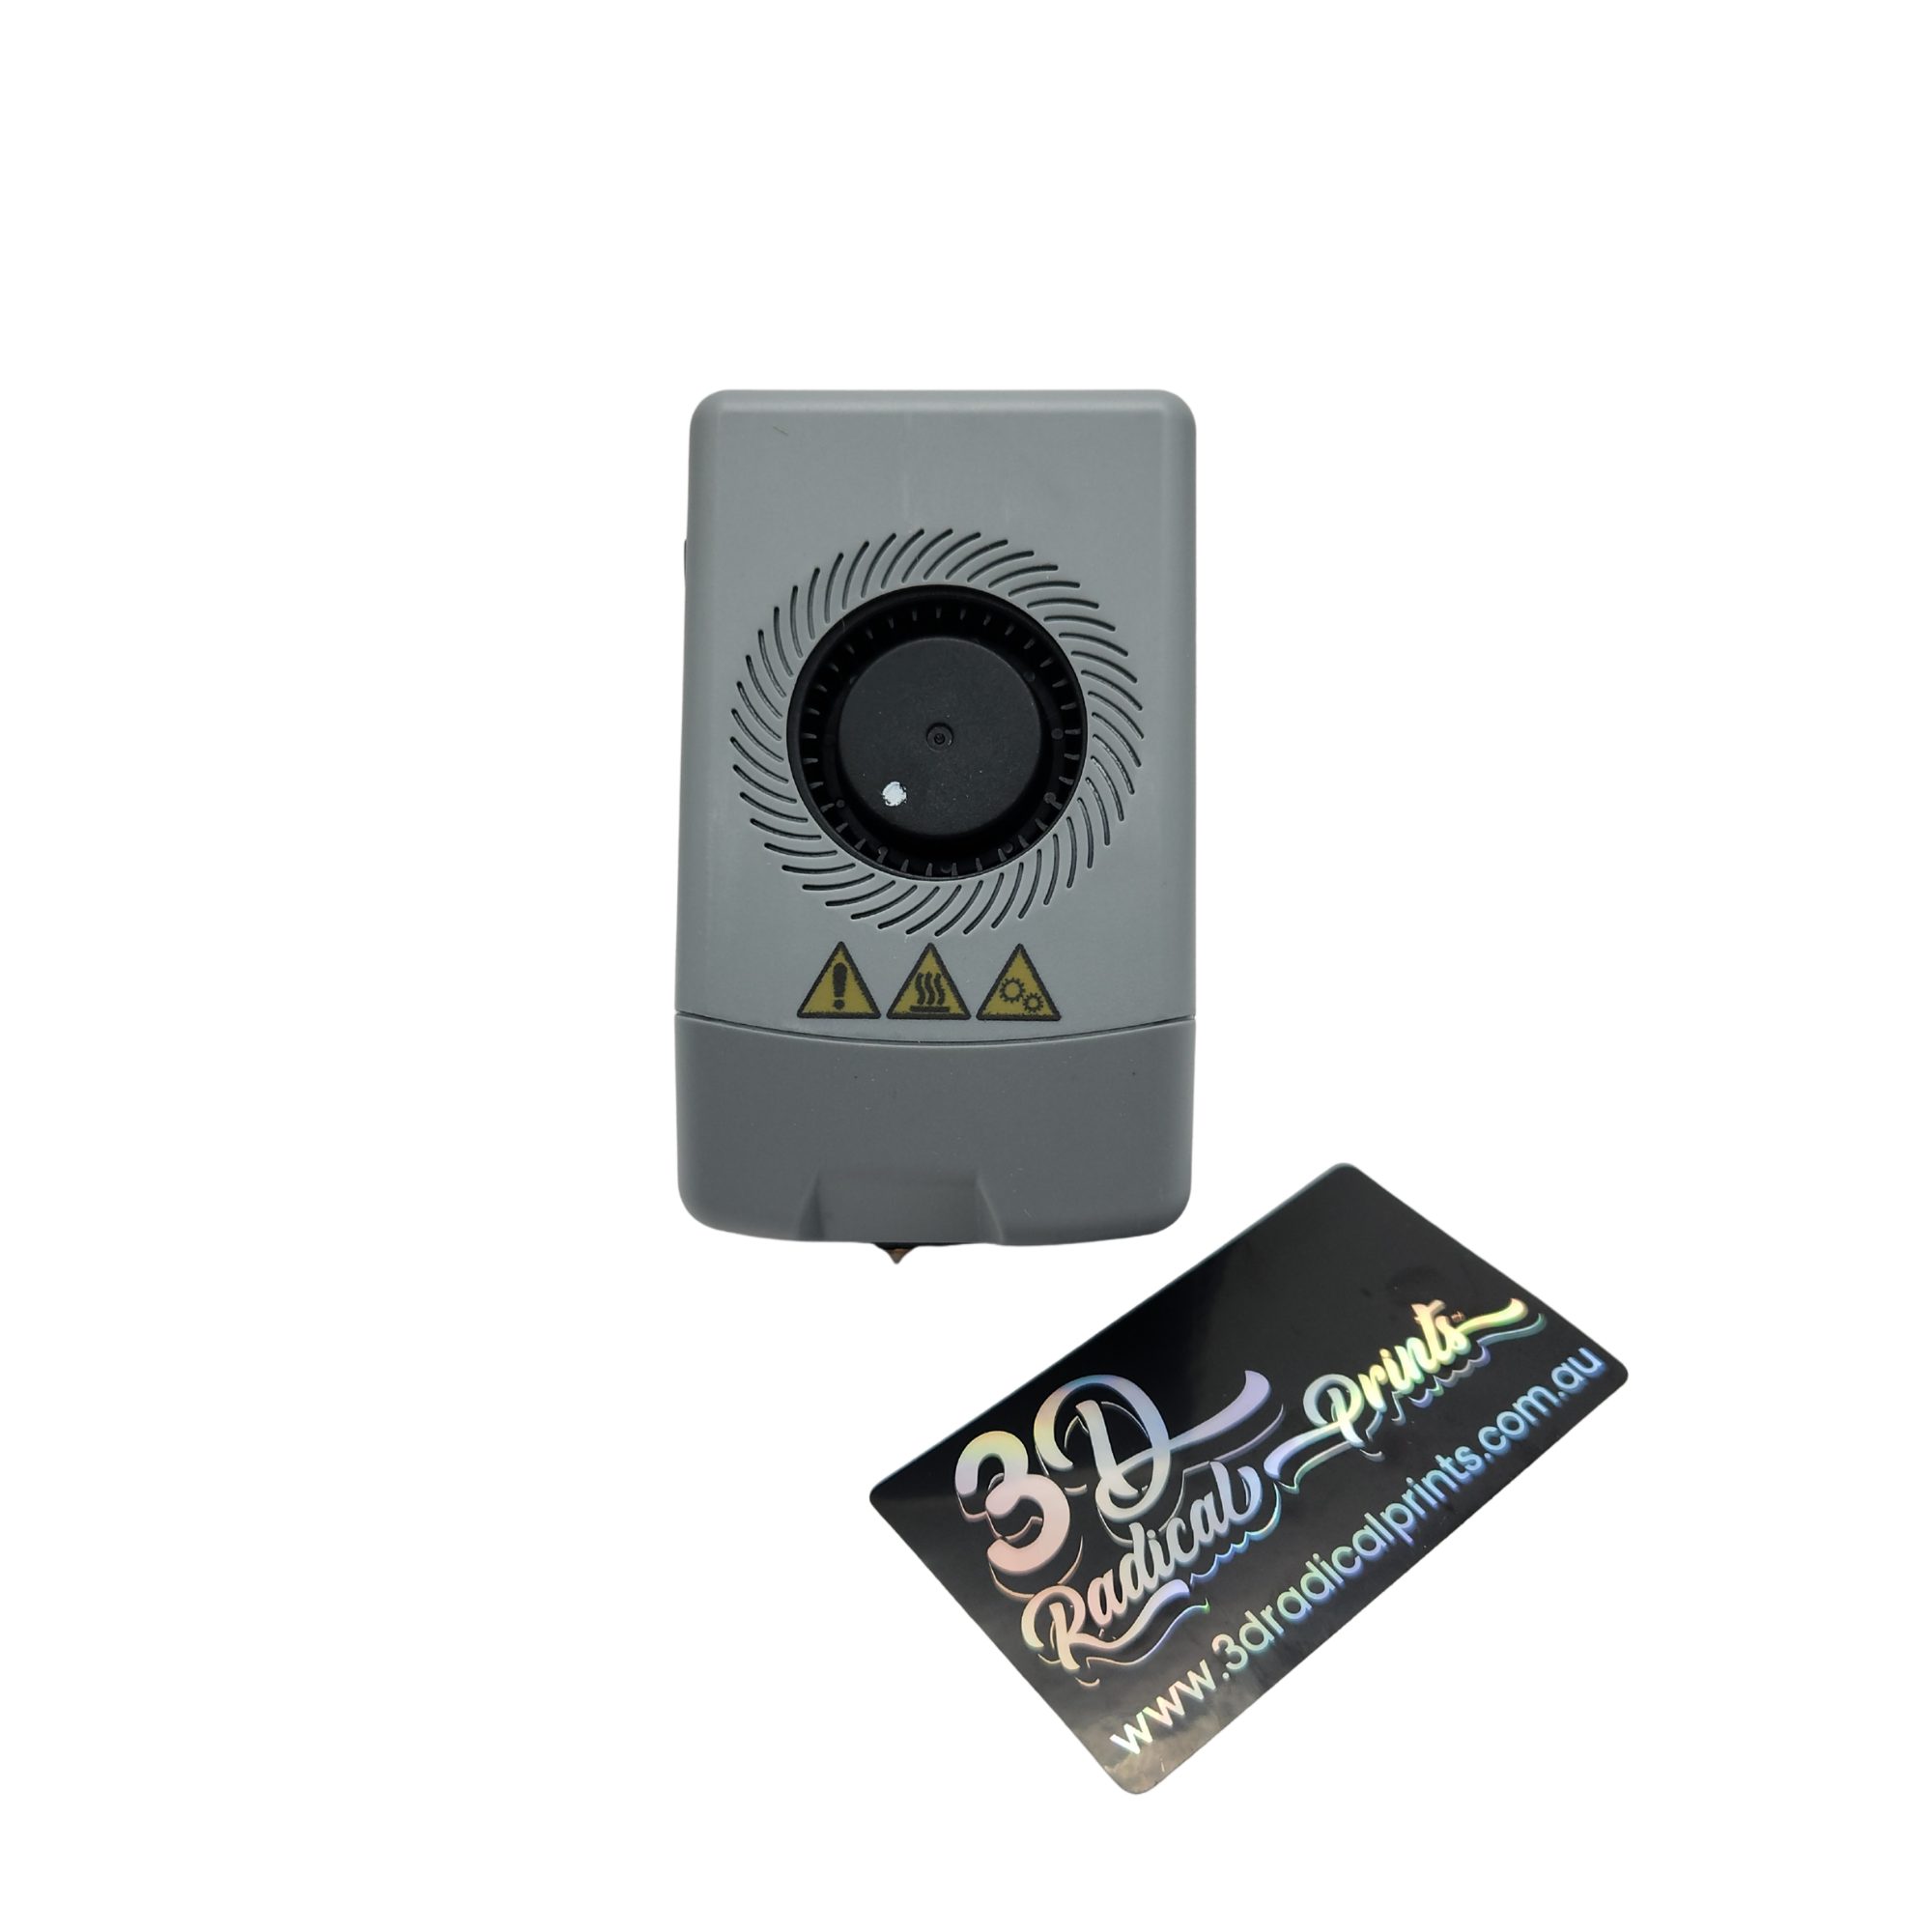
Flashforge AD5X V1 Complete Printhead Assembly – OEM
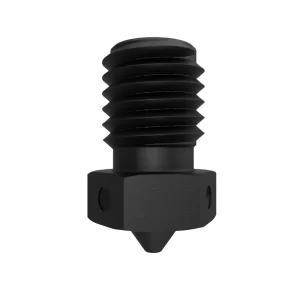
This is the complete OEM printhead assembly for the Flashforge AD5X V1 — everything from the nozzle to the extruder to the cooling system in a single pre-assembled unit. Hot end, extruder, nozzle, fans, wiring, and mounting hardware are all included and ready to install. Rather than diagnosing which individual component has failed and rebuilding the printhead piece by piece, this assembly swaps in as a complete unit for a faster, simpler fix.
If your AD5X is suffering from persistent clogs, inconsistent extrusion, heating failures, cooling issues, or mechanical damage to the printhead, this single swap restores factory-fresh performance.
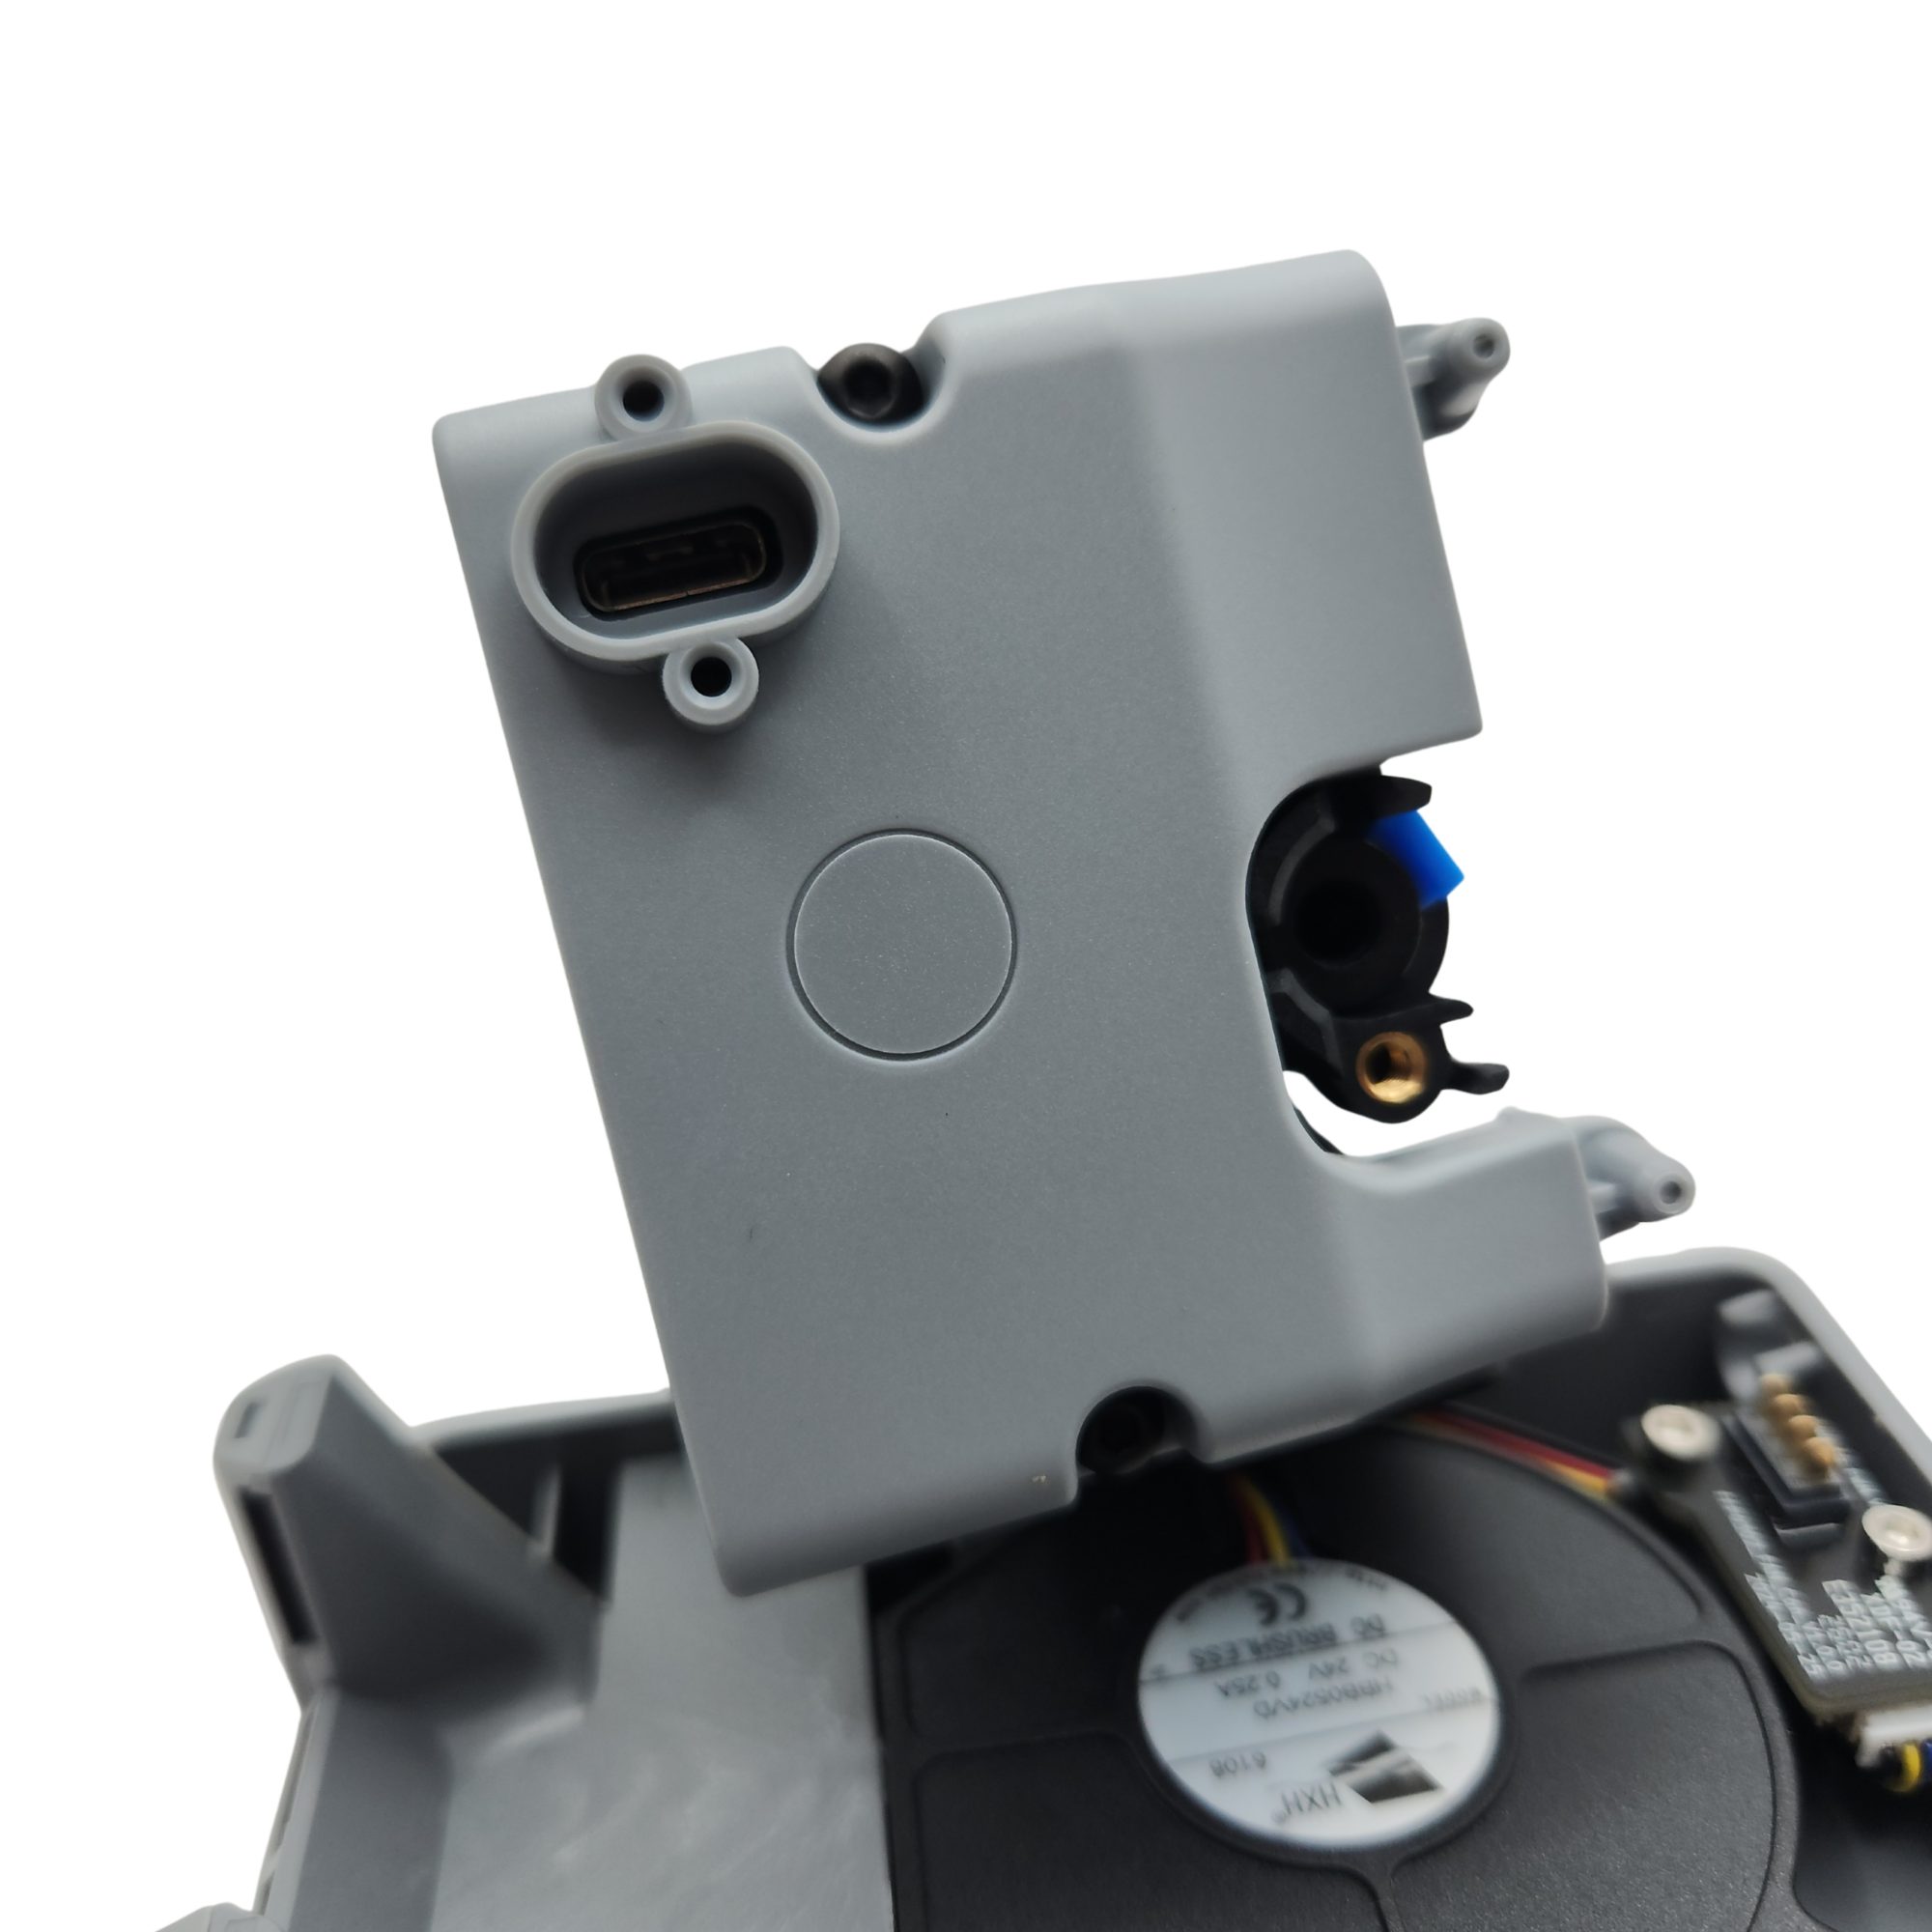
V1 or V2 — Check Before Ordering
This assembly is for the Flashforge AD5X V1 only. To confirm which version you own, check the top of your current printhead:
V1 Printhead: Has a USB-C cable connected at the top — this listing is for you.
V2 Printhead: No USB-C cable present — this assembly is not compatible.
If your printhead has a USB-C connection at the top, you have a V1 model.
When to Replace the Entire Printhead
Persistent clogs that don’t resolve with nozzle changes or cleaning, temperature errors or heating failures from a degraded heater or thermistor, inconsistent extrusion despite correct settings and fresh filament, cooling fan failure causing heat creep or poor overhangs, physical damage to the printhead from a crash or collision, multiple components showing wear simultaneously — replacing the full assembly is faster and more reliable than troubleshooting individual parts.
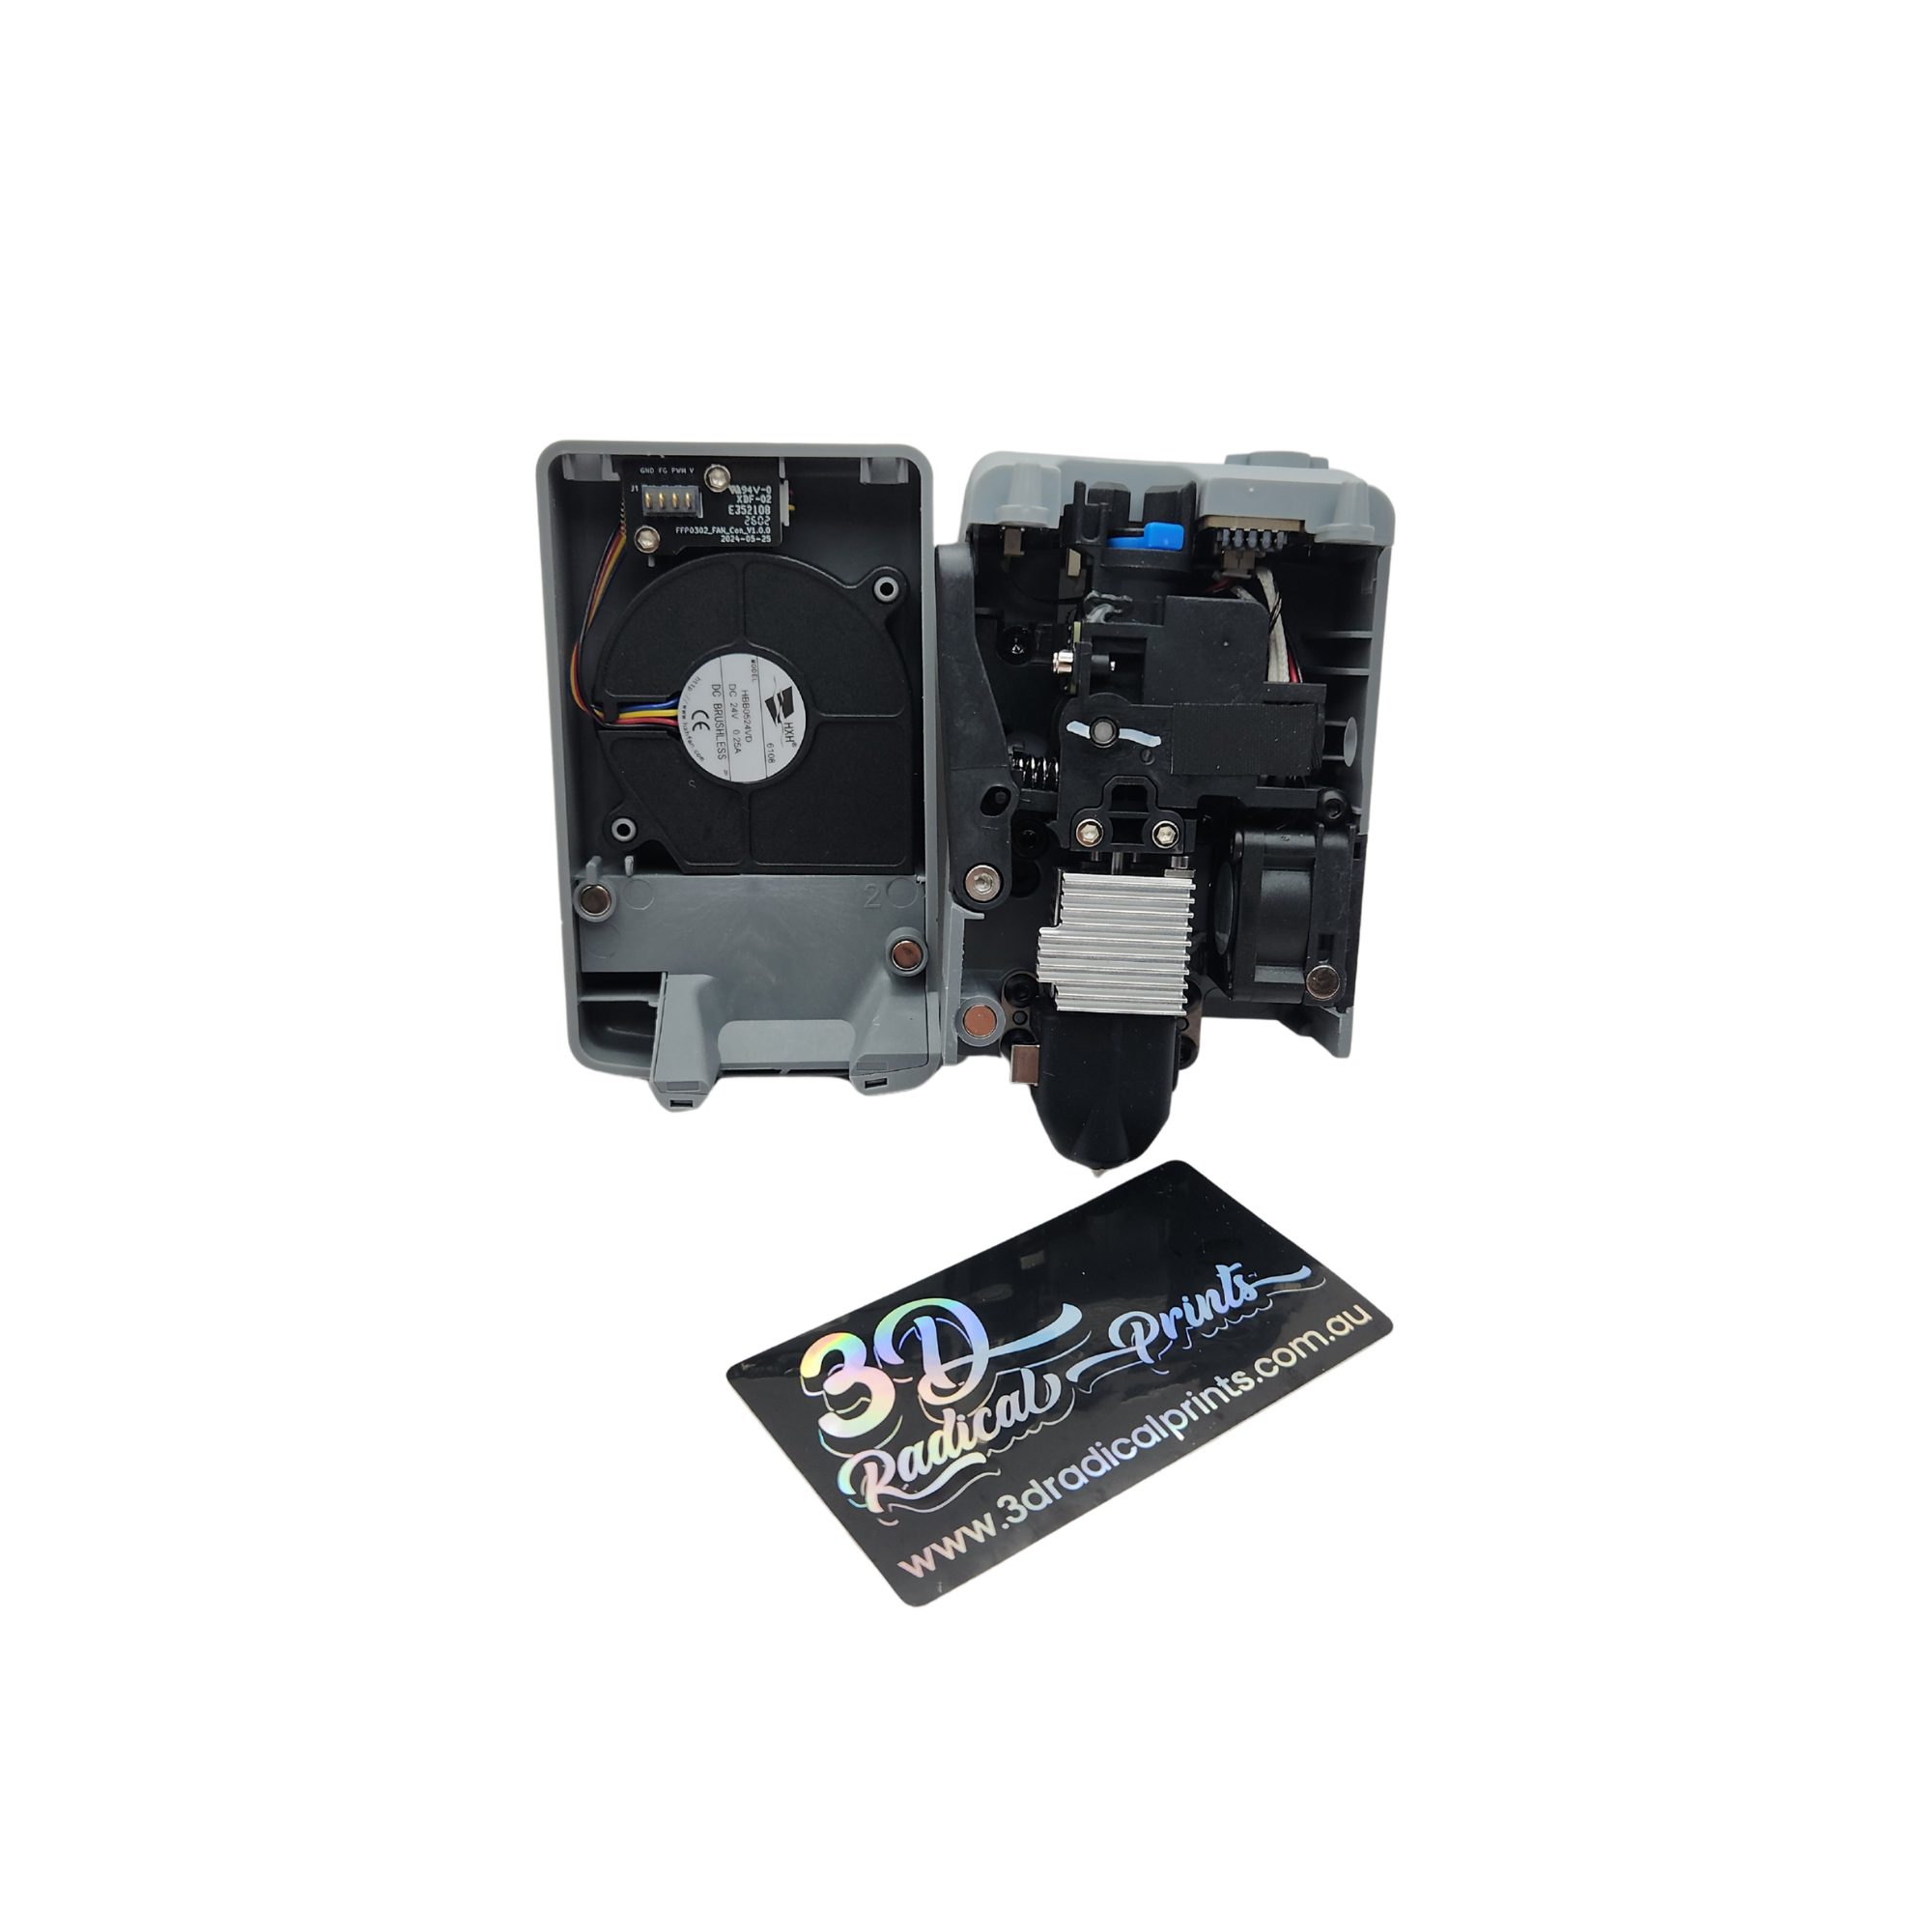
What’s Included
Complete printhead assembly including hot end with heater and thermistor, extruder with drive gear and motor, nozzle, cooling fans and ducts, wiring harness, and mounting hardware. Everything needed for a direct drop-in replacement.
Compatibility
Flashforge AD5X V1 only. Not compatible with AD5X V2, Adventurer 5M, Adventurer 5M Pro, or other Flashforge models.
Installation
Power off the printer and allow the printhead to cool completely. Disconnect the wiring and mounting hardware from the existing printhead, remove it from the motion system, mount the new assembly, and reconnect all wiring. After installation, run a bed levelling calibration and test print to verify correct operation. Refer to the Flashforge Wiki for detailed disassembly and reassembly instructions.


Reviews
There are no reviews yet